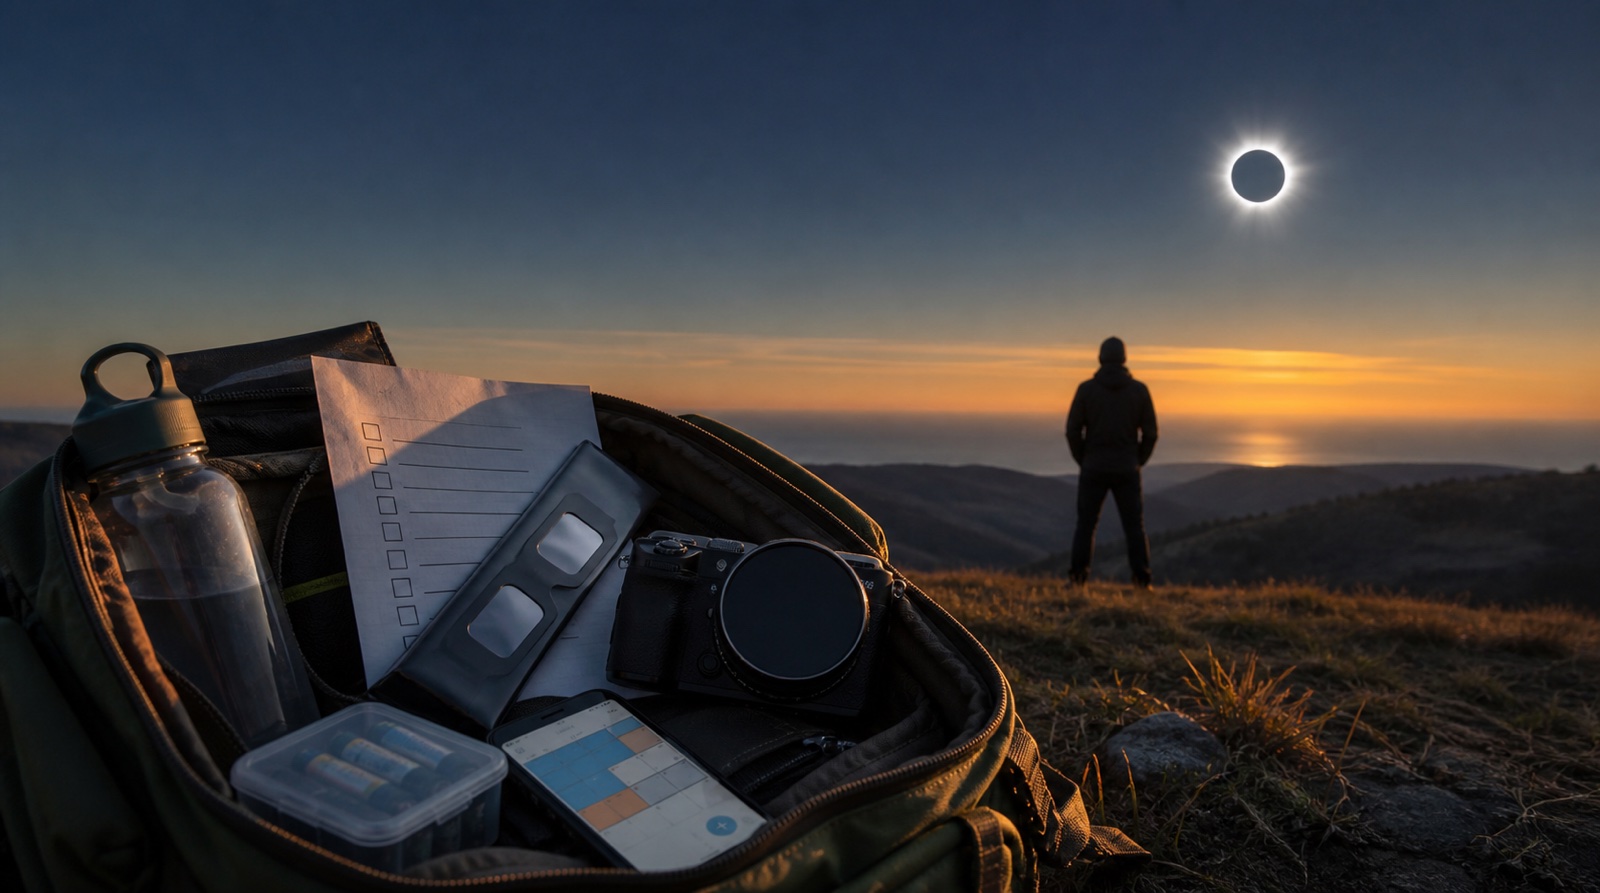
The final week before an eclipse is when excitement can turn into avoidable rushing. The best preparation is not a heroic last-minute equipment haul; it is a short sequence of decisions that leaves you with a safe location, a verified route, reliable timing, and enough attention left to experience the sky. Use this checklist for the total solar eclipse on 12 August 2026, then adapt the timing to your own site and local conditions.
1. Seven days out: choose a real viewing site
Start with the view, not the parking lot. Confirm whether your chosen coordinates are inside the path of totality or will see only a partial eclipse. NASA’s 2026 overview shows the total path crossing Greenland, Iceland, the Atlantic, Spain, and a small corner of Portugal; the difference between totality and a deep partial eclipse is a location decision, not a matter of luck.
Use the SunEclipses planner and an authoritative eclipse map to save the exact latitude, longitude, elevation, and local time zone for your primary site. Then check the western horizon in person or with a terrain profile. In mainland Spain and Portugal, the Sun is low in the evening, so a nearby ridge, tree line, or building can hide the final phases even when the sky is clear.
Choose a backup site now. It should solve a real problem: a blocked horizon, an access restriction, a cloud-prone location, or a route that becomes impractical. Record the backup coordinates and driving time while the decision is still calm.
- Save the primary and backup coordinates in both your phone and an offline note.
- Confirm safe access, parking, walking distance, toilets, shade, and a legal place to stand.
- Check whether the site will still have an unobstructed western horizon at the Sun’s altitude during the eclipse.
2. Five to three days out: turn the forecast into a decision
A forecast a week ahead is useful for watching the pattern, not for pretending you already know the cloud cover. Recheck the forecast as the event approaches, and compare it with the terrain, altitude, and coastal or inland exposure of your site. Make a decision rule before emotions take over: for example, move to the backup if low cloud is forecast along the western horizon or if access becomes uncertain.
Do not chase a clearer map without calculating the cost. A longer drive can add traffic, fatigue, parking uncertainty, and a late arrival. The best backup is the one you can reach early enough to set up, not merely the one with the most optimistic weather icon.
Put the final decision time in your notes. Tell the people travelling with you which site is primary, which is backup, and who has authority to make the move.
- Check the forecast at least once each day, then more often as the event nears.
- Watch cloud at the western horizon, not only the headline percentage for the whole day.
- Share the route, meeting point, and fallback decision with your group.
3. Two days out: audit your safety equipment
Inspect every pair of eclipse glasses or handheld viewer before packing. For the partial phases, use a reputable solar viewer that conforms to ISO 12312-2. Scratched, torn, punctured, or improvised filters do not become safe because the eclipse is nearly total.
If you are using a camera, telescope, or binoculars, use a purpose-built solar filter securely attached to the front of the optics. Eclipse glasses must not be used behind an optical instrument: concentrated sunlight can damage the filter and your eyes. Test the fit, cap, strap, and filter attachment before the day itself.
- Pack one safe viewer per person, plus a spare from a trusted source if available.
- Check filters for damage and confirm the marking and instructions are still readable.
- Keep filters on through all partial phases; remove eye protection only during totality and replace it before the bright photosphere returns.
“Except during the brief total phase of a total solar eclipse … it is not safe to look directly at the Sun without specialized eye protection.”— NASA — Eclipse Viewing Safety
4. The day before: pack for a field, not a photograph
Pack the things that keep you comfortable, reachable, and able to leave safely: water, food, a light layer, sunscreen, sturdy shoes, a small first-aid kit, a headlamp for the journey home, and a charged phone with an external battery. If you are travelling by car, add fuel, a paper or offline map, and a plan for post-eclipse traffic.
Photographers should simplify. Charge every battery, clear enough storage, label the solar filter, test the tripod, and load a known-good interval or exposure sequence if you use one. A written contact-time card is more useful than a new accessory that has never been tested.
Make the kit visible before you close the bag. A checklist is not busywork: it prevents a forgotten filter or power bank from becoming the most important memory of the day.
- Safety: solar viewers, front-mounted optical filter, contact-time card, and a timer.
- Comfort: water, food, clothing layer, sun protection, seating, and basic first aid.
- Logistics: keys, fuel or transit ticket, offline map, power bank, and a charged phone.
- Photography: charged batteries, empty cards, tripod, lens cap, filter, and a tested setup.
5. On eclipse morning: verify, then stop changing things
Check the forecast, route, site access, and local contact times once more. Save a screenshot or offline copy of the timings, because mobile coverage can disappear when a popular viewing area fills. Arrive early enough to park, walk, set up, and still look around rather than assembling equipment during the final minutes.
At the site, verify the horizon with your own eyes. A forecast cannot tell you that a newly parked vehicle, temporary barrier, or unfamiliar ridge blocks the low Sun. Place the tripod and chairs where people can move safely without crossing the line of sight or tripping over cables.
Once the setup works, stop upgrading it. The final hour is for a safety briefing, a quiet rehearsal of C1 through C4, and noticing the changing light.
- Confirm the local time zone and set alarms for C1, C2, totality midpoint, C3, and C4.
- Tell everyone exactly when filters come off and when they go back on.
- Keep bags, cables, and tripods out of walkways, and do not leave valuables unattended.
6. The final five minutes: use a simple script
A short script protects your eyes and frees your attention. Before C2, filters stay on. Watch the horizon, listen to the people around you, and let the camera run its tested sequence. When the bright photosphere has completely disappeared and you are genuinely inside totality, you may look without solar eye protection for the brief total phase.
At C3, the order reverses. Replace your eye protection before the bright photosphere returns, and make sure the filter is back on the camera or telescope before it points at the Sun again. Do not wait for the diamond ring to look “bright enough”; use the contact timing and the reappearance of direct sunlight as your cue.
After C4, take a breath and write down what worked, what you measured, and what you would change. A final-week checklist becomes even more valuable when it turns into the field notes for your next eclipse.
- Before C2: filters on, timer ready, horizon visible, people briefed.
- At C2: filters off only when totality has begun and the bright photosphere is fully hidden.
- During totality: look up, look around, and let the camera be secondary.
- At C3: filters back on before the bright photosphere returns.
- After C4: pack slowly, check the site for litter, and leave the location as you found it.
“Regular sunglasses, no matter how dark, are not safe for viewing the Sun.”— NASA — What to Expect: A Solar Eclipse Guide